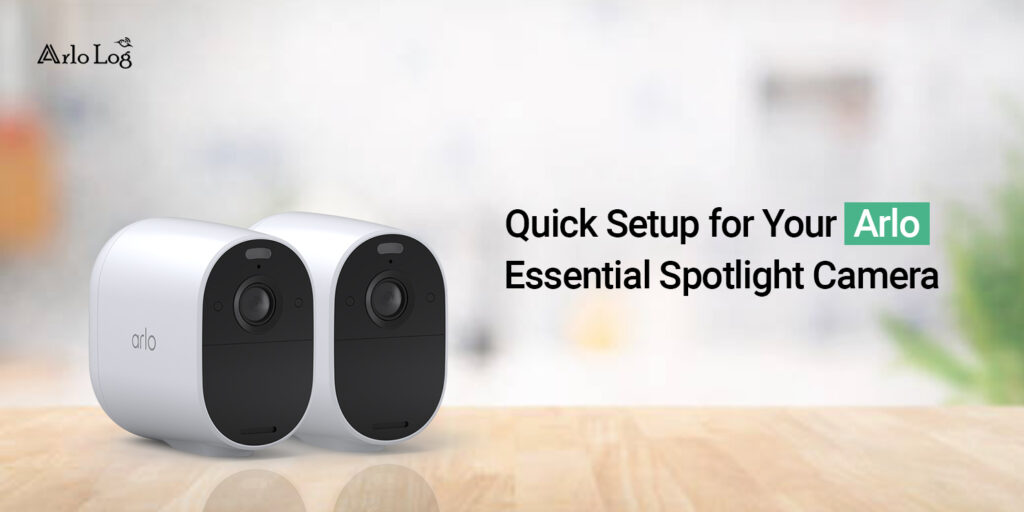
The Arlo Essential Spotlight cameras are the most advanced surveillance devices with wireless design. Likewise, these security gadgets come with solar charging and a built-in battery with a long life. With HD picture quality and colored night vision, you stay connected to your Home every time. So, to access all these features, you need to buy and perform the Arlo essential spotlight camera setup first.
In addition, if you want to know the process for configuring your Arlo essential cam settings, stay connected to this post. Here, we will explain two different methods to proceed with the Arlo essential camera setup. You can either use an Arlo app or proceed with the web address. Further, ensure that you have a stable internet connection, a computer/laptop, a smartphone, and your Arlo admin details with you. Now, have a look at the Arlo cam setup below.
How to carry out Arlo essential spotlight camera setup?
Moreover, the Arlo essential spotlight series is one of the advanced security technologies that provide indoor and outdoor security as well. Likewise, these surveillance devices will work with smart home gadgets like Alexa, Apple Homekit, Google Assistant, etc.
But for all this, you have to understand how the Arlo spotlight camera setup will be done. In this section, we will explain the steps to configure the settings of your Arlo essential series. Let’s have a look:
Arlo essential spotlight camera setup through the Arlo app
- To begin with, download and install the Arlo Secure app on your smartphone.
- Now, log in to your Arlo account by entering the admin credentials.
- If you don’t have an account, then create an account on the app first.
- Afterward, you visit the smart dashboard of the Arlo spotlight camera.
- Hereon, click on the Cameras>Essential Spotlight>Camera model.
- Further, tap on “Connect without Smart Hub”>Continue.
- Ensure you are connected to the 2.4GHz network bandwidth.
- Now, come back to the Arlo Secure app and press Continue again.
- Here, enter the admin username and password for the wireless network you are connected with and tap on Continue.
- Here, press and hold the Sync button on the Arlo camera’s bottom for 2 seconds.
- Afterward, hold the camera to scan the QR code till you hear the chime sound.
- After listening to the chime sound, click on Continue.
- Now, the app will look for your camera and again click on Continue.
- Hereon, position your Arlo camera and click on Finish.
- Now, visit the Device Settings and configure them accordingly.
- At last, you are done with the Arlo spotlight setup.
Setup Arlo essential spotlight camera using the Web GUI
- First and foremost, ensure your Arlo spotlight camera is turned on.
- Next, ensure your computer or laptop is connected to the router network.
- Further, open the web browser and type my.Arlo.com web address in the URL bar.
- Hereon, a login window appears to you.
- If you already have an account then enter the admin details here.
- Or click on Create Account and then enter your registered email here.
- After accessing the login page, you reach the smart dashboard of the Arlo essential spotlight camera.
- Now, go to the Device>Add Device>Select your camera model.
- If it is already added, then visit Device Settings.
- Here, follow the given instructions to set the Motion Detection, Spotlight Feature, Audio & Video Settings, and much more.
- Finally, you are done with the Arlo Essential spotlight camera setup.
Bottom Line
On the whole, the information we share with you will surely assist you with the complete Arlo essential spotlight camera setup. You can either opt for the Arlo Secure app method or proceed with the web GUI. Additionally, follow the steps carefully for the method that you want to continue with. You can easily complete the setup process, if you still need more information regarding Arlo cameras, then get in touch with us!


